Showing posts with label Custom sized boxes. Show all posts

Wednesday, February 19, 2025

Storybook Friends Mini Package for New at SU

new at su banner

Welcome to our February NEW AT SU! Blog Hop! We love to share creative ideas from Stampin' Up!®️ with you. Today we have projects featuring the products from the January to April Mini catalogue, but the theme is Make It Mini! Anything smaller than a standard card is what you will find today in our Blog Hop. You're going to love this one! 


storybook friends mini package for new at su 1


Have you ever made your own box? It's so easy that once you know how, you'll be doing it all the time. It's a great alternative to wrapping paper for smaller unevenly shaped items. Here's a previously made video showing you how to calculate the dimensions of the cardstock and DSP you would use, and how to cut, fold and glue the box.


For the box:
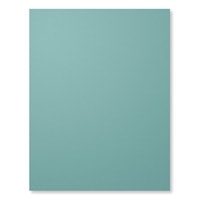
  • I started with a cardstock base in Lost Lagoon. I wanted the box to be 3" x 4" x 1 1/2", so using the formula on the previous video, I calculated the length to be 1 1/2" + 4" + 1 1/2" = 7" and the width to be 1 1/2" + 3" + 1 1/2" = 6". Before scoring on all 4 sides at 1 1/2", I cut a sliver off the length and width to help the lid fit on better. I cut and assembled it as in the video.
  • I used a piece of the Storybook Moments DSP to make the cover. I wanted the lid to be only 1" deep so that you would be able to see some of the cardstock beneath it. Using the formula, the lid was calculated to be cut at 1" + 4" + 1" = 6" and the width was calculated at 1" + 3" + 1" = 5". It was scored 1" from the edge all the way around, then folded and cut as in the video.


storybook friends mini package for new at su 2

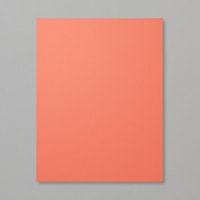
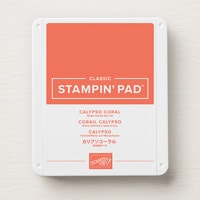
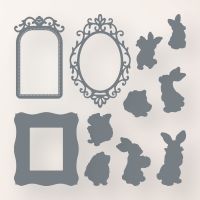
  • For the top decor, I die cut the Calypso Coral frame using the Storybook Friends dies and glued that to the top center of the box.
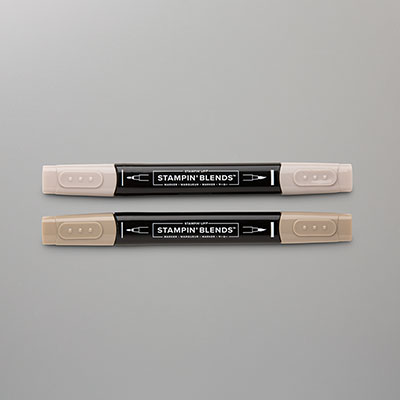
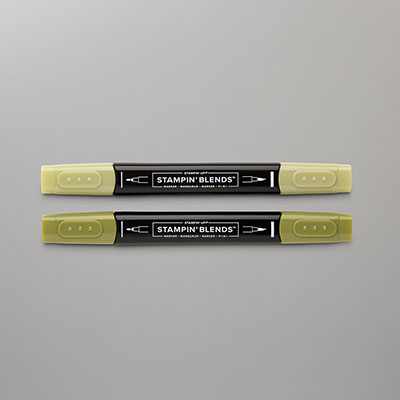
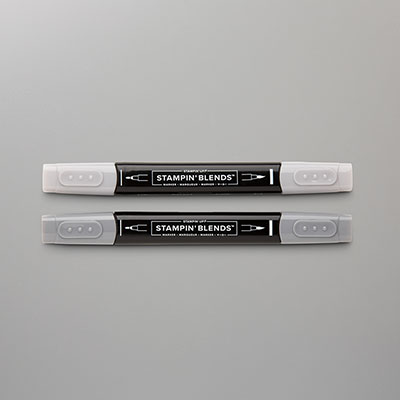
  • I stamped the stone fence image from the Storybook Friends stamp set and coloured it with Pebbled Path and Old Olive Stampin' Blends Combo Markers as well as some Crumb Cake and Smoky Slate. 
  • I die cut this using the samek frame die, centering the frame over the middle of the fence and used the middle oval to glue into the middle of the Calypso Coral frame.
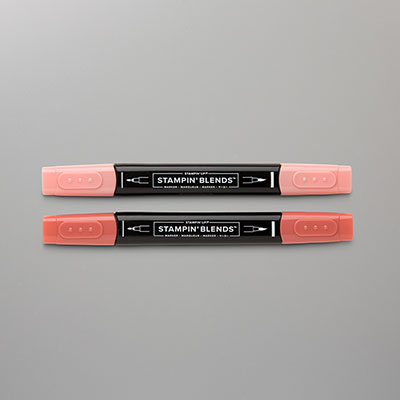
  • I stamped the female rabbit image on Basic White cardstock with Memento Tuxedo Black ink and coloured it in with Calypso Coral, Crumb Cake and Lost Lagoon Stampin' Blends Combo markers.
  • This image was die cut and added to the top of the box using Stampin' Dimensionals.


storybook friends mini package for new at su 3


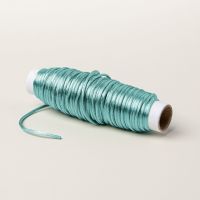
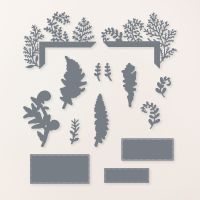
I stamped the sentiment from the stamp set in Calypso Coral on Basic White, and die cut it using one of the Wild Ferns dies. I used the Lost Lagoon soft cording to make a double finger bow to attach it to the box.

I hope you enjoyed this project made with the Storybook Friends suite. Please take a moment to comment at the bottom of this post and let me know how you liked my project or ask me a question about the technique used. Don’t forget to scroll back up and keep hoppin’ with us! – Thank you!
Keep Creating!
Heather Cooper

Please contact your Stampin’ Up! demonstrator if you have any questions or to make a product purchase. If you do not have a demonstrator, I would be happy to answer any questions about products, or the techniques shown here.

Here's the list of bloggers in our New At SU February Blog Hop to help you keep on track: 


Product List

Monday, October 26, 2020

My YouTube Tutorials on Making Custom-Sized Gift Boxes & Bags


I completed my Stampin' Up! Holiday Solutions event on Saturday and it was an interesting experience. It was the first time I had tried something like that online and I had everything planned out down to the wire. However, just because it is all planned out, does not mean it's going to go smoothly! I decided that I would introduce myself and the event using Facebook Live at the beginning of the event and sign off by Facebook Live at the end of the event, but instead of doing the demos by Facebook Live as well, all the while trying to monitor comments and posting photos and games, which would be too overwhelming, I decided it would be better to film them ahead of time and post the videos on the group page during the event.

I spent a lot of time filming and editing the videos, only to find out that most of them were too big for Facebook. I didn't realize that because I've only ever done Facebook Lives and they have been long, so I didn't think there would be a difference. Once the event was over, I was able to split a couple of the videos and then post them quickly within the hour, so most of the attendees saw them anyway, but it was stressful during the event.

Since I edited these videos, I uploaded them to YouTube, so I thought I would share them with you today:

The first one is how to make custom boxes for gift giving:


Here is the calculation to make the box:

Custom Sized Boxes
Bottom

______________ + ______________ + ______________ = ______________
    Side                         Length                     Side               Total Length of paper

______________ + ______________ + ______________ = ______________
    Side                         Width                       Side                Total Width of paper

Top

______________ + ______________ + ______________ = ______________
    Side                         Length                     Side               Total Length of paper

______________ + ______________ + ______________ = ______________
    Side                         Width                      Side                Total Width of paper


This video is the sequel to the first, actually the second half of the first video when I had to cut it in half to be able to be able to post it:


And here's the calculation you need to figure out your paper size for this one:

Custom Sized Bags


___½”_____ + ____________ + ____________ + ____________ + 

    Flap                Width                    Length                Width

____________ = ____________ 

Length                Total Length of Paper


______________ + ______________ = ______________
        Width                Height  of Item    Total  Width of Paper                                                                                                                                                                                                                                                                                                                                                                                                I hope these are helpful to you in wrapping up some of those awkward presents this Holiday Season!     

And in order to make those boxes and bags, you can stock up now! This is the LAST WEEK of the DSP sale with Stampin' Up!    


                                                                                                                               Contact me or go to my Online Store to order.


If you live in Canada, and don't have a Stampin' Up! demonstrator, I'd love to be yours. I can help you with ideas, get you catalogues and provide you with Stampin' Up products. You can leave a message in the comments or contact me using any of the methods listed in the right side bar at the top of the page. You can shop with me from anywhere in Canada by clicking on the SHOP NOW button in the top menu or clicking on any of products below from my Online Store.