Friday, July 19, 2024

Under the Moon for As You See It Challenge #328


under the moon for aysi #328 1

This week, As You See It Challenges is featuring a Fill in the Blank Challenge created by myself. The sentence you have to complete asks, "My favourite beach activity is: ____________________. Check out the Challenge Banner:


challenge #328

How would you complete this sentence in just a few words? I can hardly wait to hear! 
There were several answers that I could have given, but then my mind leapt to when we were camping at McKenzie Beach on the West Coast of Vancouver Island. McKenzie Beach is a small part of Long Beach, a well-known stretch of miles of sandy coastline. Of course, you would go for long walks on the beach, but at sunset, everyone, no matter what they were doing, STOPPED in their tracks and watched the sunset, because it was so spectacular. 

And then, in the Dominican Republic this past February, the sunsets there reminded me of McKenzie Beach again. So I'm going to go out on a limb and say "My favourite beach activity is "Watching the sunset from the beach!"
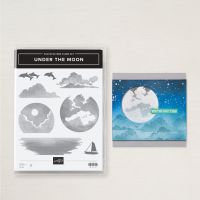
And to illustrate this in a card, I got out a set I've been dying to try out: Under the Moon. 

under the moon for aysi #328 2

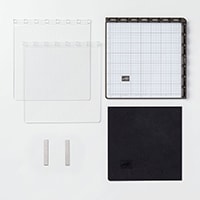
This was an ideal card with which to use a stamp positioning tool such as a Misty or a retired Stamparatus, if you have one.
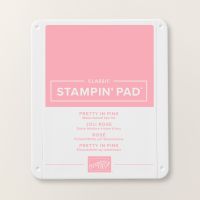
  1. I positioned a piece of 3 3/4" x 5" Basic White cardstock on the stamp positioning tool and, with a Blending Brush, added Pretty in Pink all around the outside edges and in about 1" or more.
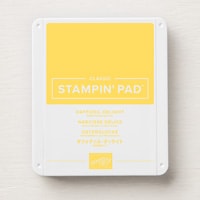
  2. In the middle I used another Blender Brush to add some Daffodil Delight ink around in the center, blending it in with the Pretty in Pink around the outside.
  3. I took a piece of painter's tape and used it to tape off the horizon on the sky side and off the paper to help secure it in place.
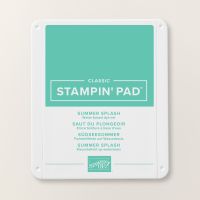
  4. From the Under the Moon set I used the water stamp and placed it face down in the position I wanted it directly under the tape, centered horizontally, then picked up the stamp with one of the plates. I inked it up with Summer Splash and stamped the image. I reinked and stamped again to make it very clear.
  5. I used another Blending Brush to pick up a little Summer Splash ink and blended it horizontally across that water image to the outside edges to blend it in a bit more.
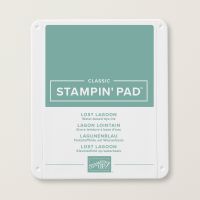
  6. I moved the stamp down, after cleaning it well, to just on the lower edge of the last one and inked it up with Lost Lagoon ink, repeating steps 4 and 5, only with the Lost Lagoon ink.
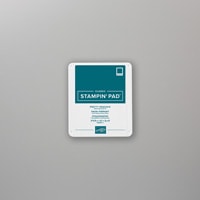
  7. I moved the stamp down one last time to the bottom of the last image and repeated step 6 only with Pretty Peacock ink.
  8. Keeping the paper in place, I removed the tape and repositioned it on the horizon but on the water side this time.
  9. I placed the sun/moon image right against the tape, centered horizontally and picked it up with the plate.
  10. I inked it up with Daffodil Delight and stamped it on the card face twice.
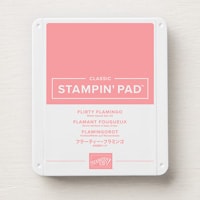
  11. I inked it up in Flirty Flamingo, but wiped off the pink from in between the clouds, and stamped it again.
under the moon for aysi #328 3

I used one cloud image at the horizon line on the right and again on the left, inking it up in Flirty Flamingo, and the other cloud image further up on the right and on the left, inked in Smoky Slate.

The leaping dolphin images just make this whole design, but on the west coast, they are more likely to be grey whales, humpback whales or orcas.

The sentiment, which is from Seaside Wishes, I thought was perfect for this card.

Have a great weekend!

bonus days


Earn yourself a Bonus Coupon by placing an order in my Online Store today!


under the moon for aysi #328 4

If you live in Canada, and don't have a Stampin' Up! demonstrator, I'd love to be yours. I can help you with ideas, get you catalogues and provide you with Stampin' Up products. You can leave a message in the comments or contact me using any of the methods listed in the right side bar at the top of the page. You can shop with me from anywhere in Canada by clicking on the SHOP NOW button in the top menu or clicking on any of products below from my Online Store.

Product List

Wednesday, July 17, 2024

Seaside Wishes in Metallics for New at SU


new at su banner

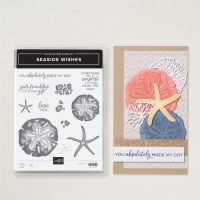
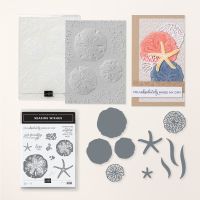
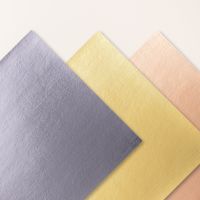
Welcome to our July NEW AT SU! Blog Hop! We love to share creative ideas from Stampin' Up! with you. Today we have projects featuring various metallic products and ideas from our catalogue and website. I'm afraid this is right up my alley, since I'm a great fan of metallics! I'm using the Textured Metallic Specialty Paper from the 2024/25 Annual Catalogue and the Seaside Wishes Bundle, among others.


seaside wishes in metallics for new at su 1


I haven't had much time to play with the Seaside Wishes bundle so far, and it's one of my favourite bundles from the new catalogue, so I was excited to use it for this challenge with New at SU. I needed a  fortieth birthday card for my middle daughter!(Wait! What?) Here's how I made the card:

seaside wishes in metallics for new at su 2
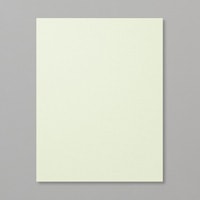
  • I started with a cardstock base in Soft Seafoam, measuring 5 1/2" x 4 1/4". 
  • I cut another piece of Soft Seafoam, 5 1/4" x 4", and embossed it with the Seaside Wishes embossing folder. Using a sponge dauber and the Soft Seafoam ink, I sponged over the raised areas to help highlight them. This panel was added to the card front.
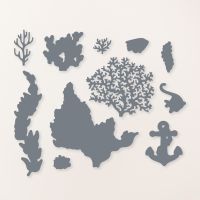
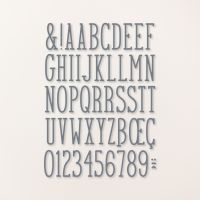
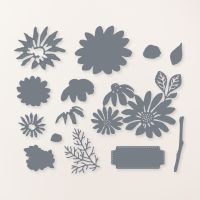
  • Using the Textured Metallic Specialty Paper in Gold and Bright Copper, the other shapes were die cut using the coordinating Seaside Wishes dies, and one Beauty of the Deep die (for the coral). I also die cut the number 40 with the Alphabet a la Mode dies and the sentiment label with the Cheerful Daisies dies.
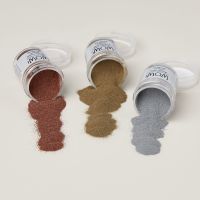
  • The sentiment was embossed with Copper embossing powder from the WOW! Metallics Embossing Powders, and it's a stamp from the Best Family Ever set.
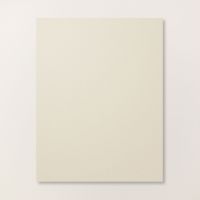
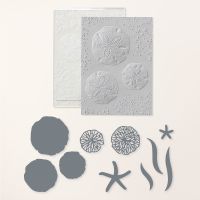
  • Finally, I used the Hybrid Embossing Folder with the coordinating dies from the Seaside Wishes set to emboss and die cut the sand dollars from Basic Beige.
  • All was assembled on the card front, using an assortment of glue, glue dots, and Stampin' Dimensionals, as seen above.
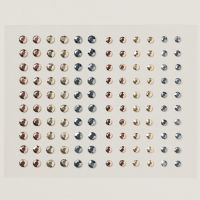
  • A few Adhesive Backed Metallic Gems finish the look.

seaside wishes in metallics for new at su 3


I hope you enjoyed this project made with the Seaside Wishes bundle and the Textured Metallic Specialty Paper. Please take a moment to comment at the bottom of this post and let me know how you liked my project or ask me a question about the technique used. Don’t forget to scroll back up and keep hoppin’ with us! – Thank you!
Keep Creating!
Heather Cooper

Please contact your Stampin’ Up! demonstrator if you have any questions or to make a product purchase. If you do not have a demonstrator, I would be happy to answer any questions about products, or the techniques shown here. 

Here's the list of bloggers in our New At SU July Blog Hop to help you keep on track:

Blog Hop Index

Product List

Friday, July 5, 2024

Country Birdhouse for As You See It Challenge #327

country birdshouse for aysi 327 1

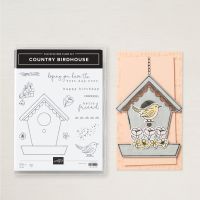
I love Colour Challenges, but this one, As You See It Challenge #327, Primary Intensity, devised by our team member, Joanne, took a little thinking because all three colours are very vivid primary colours. I did what I often do for any challenge; I went looking for an appropriate stamp set to use. Right off the bat, Country Birdhouse caught my eye, because I could picture a whimsical blue,  green and yellow birdhouse with a couple of blue and yellow birds perched on it. Oh, here's the challenge banner:
challenge #327

Here's how it turned out:
country birdhouse for aysi 327 2

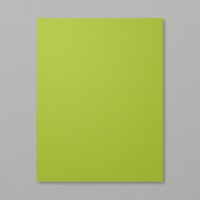
  • On a Blueberry Bushel card base, I added a layer of Granny Apple Green, 5 3/8" x 4 1/8", and then a Basic White layer 5 1/4" x 4". I debated over embossing or stamping something on the white layer, but finally opted to keep it plain so as not to compete with those intense colours.
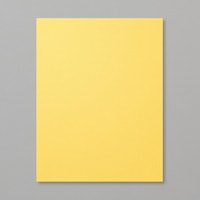
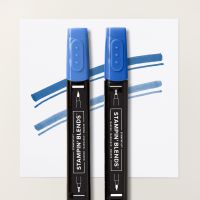
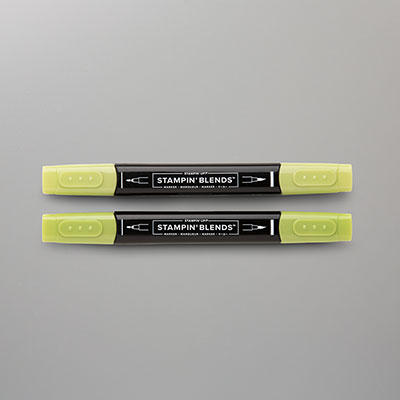
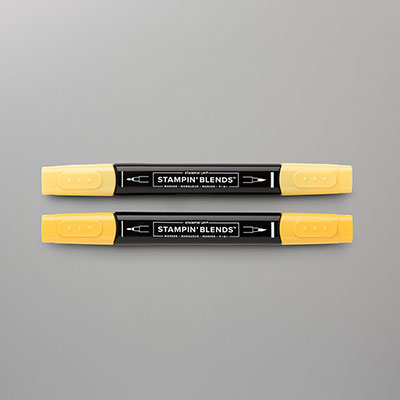
  • Using the Country Birdhouse stamp set, I stamped 2 of the birds and one of the little flower bouquets on some Basic White cardstock in Memento Tuxedo Black ink and coloured the images using the Blueberry Bushel, Daffodil Delight and Granny Apple Green Stampin' Blends Combos.
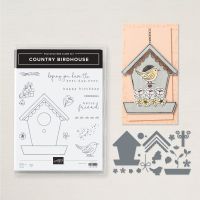
  • I die cut those stamped and coloured images with the coordinating Country Birdhouse dies.
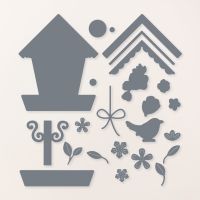
  • Continuing with the Country Birdhouse dies, I cut the birdhouse the 3 roof pieces, the ledge, the perch, the stand, and various flowers and leaves. For these I used Daffodil Delight, Blueberry Bushel, Granny Apple Green and Basic White cardstock as shown in the photo above.
  • I assembled all the pieces using glue, glue dots and dimensionals.

Bonus Days Are On!!


Right now, we're in the earn phase! For every $60 you order, you'll get a $6 coupon to redeem in August! Reward yourself with a summer treat and get another treat in August!!

earn to redeem

country birdhouse for aysi #327 3

If you live in Canada, and don't have a Stampin' Up! demonstrator, I'd love to be yours. I can help you with ideas, get you catalogues and provide you with Stampin' Up products. You can leave a message in the comments or contact me using any of the methods listed in the right side bar at the top of the page. You can shop with me from anywhere in Canada by clicking on the SHOP NOW button in the top menu or clicking on any of products below from my Online Store.

Product List