So excited as I head down to Vancouver today for OnStage Local, our biannual convention taking place tomorrow! The main event, OnStage Live has actually started in Sydney, Australia already, but seeing as that was a little out of reach for me in terms of time and money, I'm joining twelve of the local team in a trip down to one of the two Canadian sites for OnStage Local - Vancouver. We'll have a blast! That's where I'll receive recognition for having achieved my goal of 100,000 CSV points, although I've already received a letter of congratulations from the CEO and the founder, as well as a nice pin with a teeny diamond in it and about $1300!
While there, we'll get a good look at the coming Occasions Catalogue, which comes out January 4th along with the Sale-A-Bration Brochure. That's always exciting to see the new products Stampin' Up! has in store for you and we'll get to order some from a small selection too. Yay! New toys to play with.
In the meantime, I wanted to leave you with another card sample that we did at our latest Technique Night Classes. This one uses the Christmas Pines stamp set which is now on sale for 25% off throughout November, and uses some watercolour techniques.
- I started by creating the background with a wet-to-wet application of inks on a spritzed panel of watercolour paper. The colours I used were Pear Pizzazz, Pool Party, Mint Macaron and Emerald Envy. I used an Aqua Painter to apply the inks to the wet surface, making sure the Aqua Painter was quite wet as well. This created a very soft, pastel look. I let that dry and used the Heat Tool to speed up the process.
- I next added the stamped fir boughs at the top. For this, I want the paper just slightly damp, but no water on the surface of the paper, so just spritz very lightly and dry a bit if needed, or soak up a bit with a paper towel. Ink up the more detailed fir bough with Emerald Envy and stamp it a couple of times. There should be a bit of bleeding edges, but not too much. To illustrate this, the branch on the left is just right, whereas the one in the middle was a stamped on paper that was too wet. It can be tricky, but some practice will help you know the right amount of water to use.
- The sentiment at the bottom was stamped in Real Red on just barely damp paper. You don't want it really wet when you stamp because a blurry, bleeding sentiment just doesn't look great!
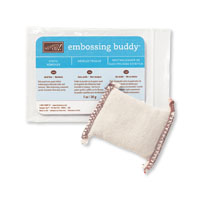
- Make sure everything is really dry and treat it with the Embossing Buddy, then stamp the small sparkly stamp randomly with Versamark and sprinkle Gold Stampin' Emboss Powder on it. When you heat set it, you will have pretty gold sparkling highlights all over your card!
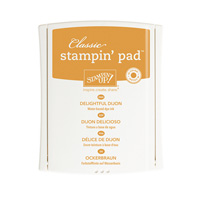
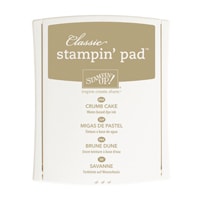
- Die cut a small and medium fir branch from each of the Mint Macaron and Emerald Envy pieces in the accessory bag using the Pretty Pines Thinlits and add them to the top with Glue Dots. Then use the Early Espresso, Delightful Dijon and Crumb Cake to stamp the pine cones with the 3 step stamping method. Start with the most detailed one first with the Early Espresso and work your way up to the solid image with Crumb Cake. Die cut the two images with the Framelits in the Pretty Pines Framelits and add them with Stampin' Dimensionals or Glue Dots to your cards.
- The Designer Series Paper in the background is from Presents and Pinecones suite.
Don't forget you can now order the Stitched Shapes Framelits along with certain coordinating stamp sets at 25% off. until the end of November! Message me with what you want!
Click on the links below to take you to my On-Line Store, where you can read about, look at, and purchase if you wish, the products used to make this card today.
Product List


No comments :
Post a Comment
I love to read your comments and get to know you better! Thanks for adding one!