Friday, November 22, 2024

Peaceful Evergreens for As You See It Challenge #337

peaceful evergreens for aysi #337

As the sun sets in the west, I have another Speed Stamping Challenge to pull off for As You See It Challenges. This time the theme is trees, thanks to the Queen of Speed Stamping herself, Team Member Jan, and the title of the As You See It blog post is Turbo Trees! If you're not familiar with Speed Stamping, the idea is that you have 10 minutes to produce a card or other project. You can plan out your card and gather your materials ahead of time, but as soon as you ink up, die cut, cut cardstock or anything else involved in the process of making, you must start your timer.

Here's the Challenge Banner:

challenge #337
Here's what I was able to throw together in less than 10 minutes:

peaceful evergreens for aysi #337 2

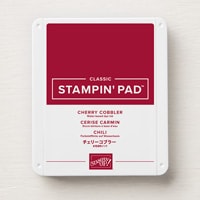
  • I started by cutting a card base of Cherry Cobbler cardstock, measuring 5 1/2" x 8 1/2" and scoring it at 4 1/4".
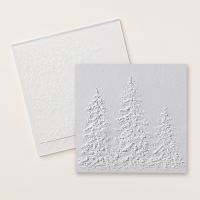
  • I embossed a piece of Basic White cardstock, measuring 5 1/4" x 4" with the Painted Trees 3D embossing folder and added it to the front of the card base.
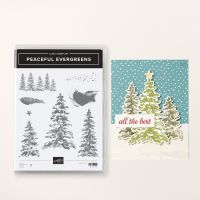
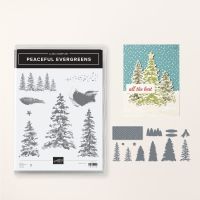
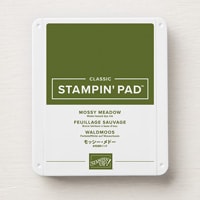
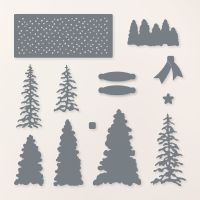
  • I stamped the largest tree from the Peaceful Evergreen set with Mossy Meadow on Basic White cardstock and die cut it with the coordinating die from the Peaceful Evergreen dies. This was adhered to the card front as shown.
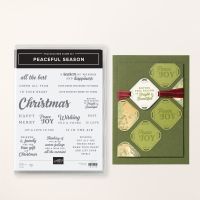
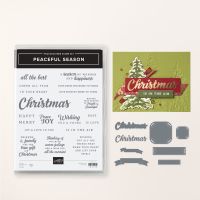
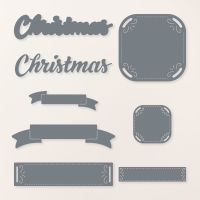
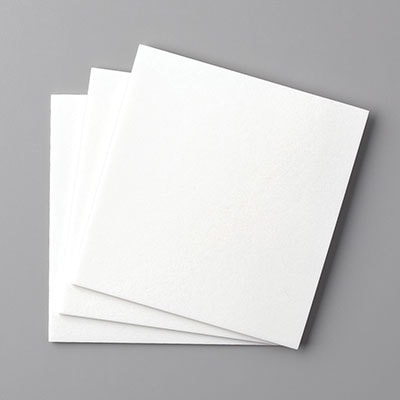
  • On a piece of Basic White backed with Foam Adhesive Sheets, I die cut the scroll banner from Peaceful Season dies, then, using Cherry Cobbler ink, I stamped Merry on it using the sentiment stamp from the Peaceful Season stamp set.
  • On a rectangle of Cherry Cobbler cardstock, backed with Foam Adhesive Sheets, I die cut the silhouette for the word Christmas with the die from the Peaceful Season dies.
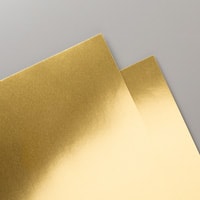
  • From a strip of gold foil, I die cut the word Christmas with the die from the Peaceful Seasons dies, and adhered that to the red silhouette.
  • I removed the backing from the Foam Adhesive Sheet on the back of the Cherry Cobbler Silhouette and added the word Christmas to the bottom of the card front, leaving a bottom border of about 1 1/4".
  • Just above that I attached the Merry sentiment, by removing the backing from the foam.
I finished my card in 9 min 6 sec, which, when you're counting down from 10 min looks like this:


timer


new product online

When did you last check the Online Exclusives? They have some adorable new products for sale since you last looked! Do you love otters? Then you "otter" check this out!


Have you moved beyond Christmas and starting to think of Valentine's Day? First of all, I'm impressed!! Second of all, check out these new Online Exclusive valentine products! Woo!

peaceful evergreens for aysi #337 3
If you live in Canada, and don't have a Stampin' Up! demonstrator, I'd love to be yours. I can help you with ideas, get you catalogues and provide you with Stampin' Up products. You can leave a message in the comments or contact me using any of the methods listed in the right side bar at the top of the page. You can shop with me from anywhere in Canada by clicking on the SHOP NOW button in the top menu or clicking on any of products below from my Online Store.

Product List

Friday, November 8, 2024

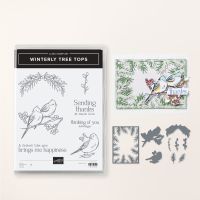
Winterly Tree Tops for As You See It Challenge #336


winterly tree tops for aysi #336

Well, Winter has definitely reached my neck of the woods with temperatures dipping below zero at night and snow on the hillsides all around us. So reaching for the Winterly Tree Tops bundle was all in season for the latest As You See It Challenge. It's a Theme challenge and the theme is seed/acorns and I had neither in my current products, except for some papers in the Iconic Celebration set, but someone had already used the best one.

So I was stumped, until I thought that those red berries on bushes that get all wizened in the winter are really seed cases, so Winterly Tree Tops it is! Here's the Challenge Banner:

challenge #336

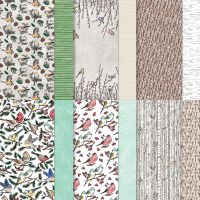
I also used the coordinating DSP, Nests of Winter to make my card and here's how it turned out:

winterly tree tops for aysi #336 2
  • I used a card base of Gray Granite, 5 1/2" x 8 1/2", scored and folded at 4 1/4".
  • For the front, I die cut some Cherry Cobbler cardstock with the largest Deckled Rectangle die and then embossed it with the Snowflake Sky 3D Embossing Folder. I adhered it to the center of the card base.
  • I used the second largest Deckled Rectangle die to die cut a piece of the Nests of Winter Designed Series Paper that you see here, centered it on the Cherry Cobbler rectangle and adhered it.
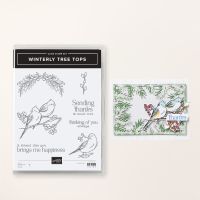
  • Using Memento Tuxedo Black ink, I stamped the smaller single bird on Basic White card stock and just the bottom of the larger two bird stamp, so I got the feet and branches. 
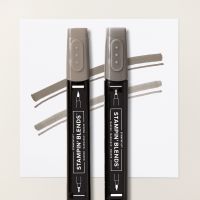
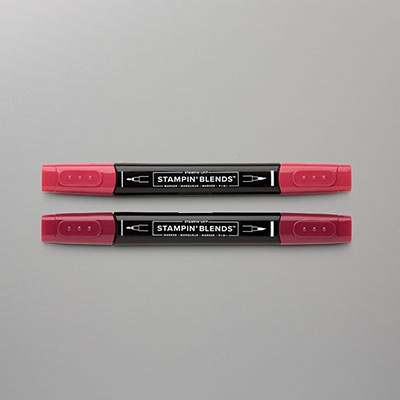
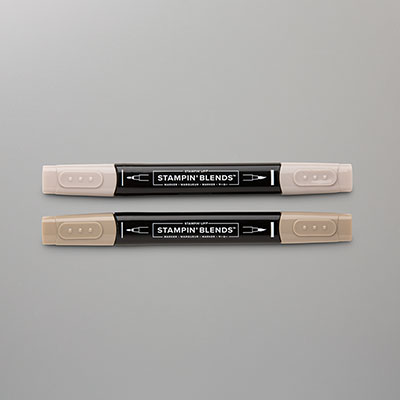
  • Using Cherry Cobbler, Pebbled Path, and Crumb Cake Stampin' Blends Duos, I coloured in the images. 
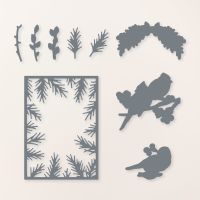
  • I die cut both images with the Winterly Tree Tops Dies, I used pieces of the tree from the two bird image to lengthen the perch of the one bird, adhering them to both ends.
  • Using pieces of dimensionals, I mounted the bird to the card front.
  • I die cut the smallest Deckled Rectangle shape from Basic White cardstock and stamped the sentiment on it using Memento Tuxedo Black ink.
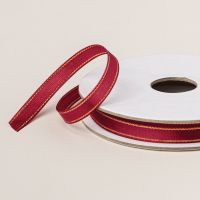
  • After arranging and gluing the piece of Cherry Cobbler & Gold 1/4" Satin Ribbon, I added the sentiment using dimensionals, over top of it.
winterly tree tops for aysi #336 3

If you live in Canada, and don't have a Stampin' Up! demonstrator, I'd love to be yours. I can help you with ideas, get you catalogues and provide you with Stampin' Up products. You can leave a message in the comments or contact me using any of the methods listed in the right side bar at the top of the page. You can shop with me from anywhere in Canada by clicking on the SHOP NOW button in the top menu or clicking on any of products below from my Online Store.

Product List