I've had it forever, and I've finally gotten around to playing with the Ice Cream Corner Suite! I didn't get everything in the suite. I got the Ice Cream Corner Designer Series Paper and the Ice Cream Cone Builder Punch, but I didn't buy the stamp set that it bundles with. I was worried that I'd regret it, but I found out a secret about the DSP that I want to share with you today, that made me less regretful. After all, you only have so much money to spend and if there are ways to economize, then go for it. Spend it on the things you really, really want!
My trick is that you can build incredible ice cream cones using just the DSP and the punch, without needing the stamp set at all, unless you love the sentiments it comes with!
One of the Ice Cream Corner DSP (Designer Series Paper) samples looks like this:
This design is perfect for punching out the cone part of the ice cream cone using the Ice Cream Cone Builder Punch.
Three other designs look like this:
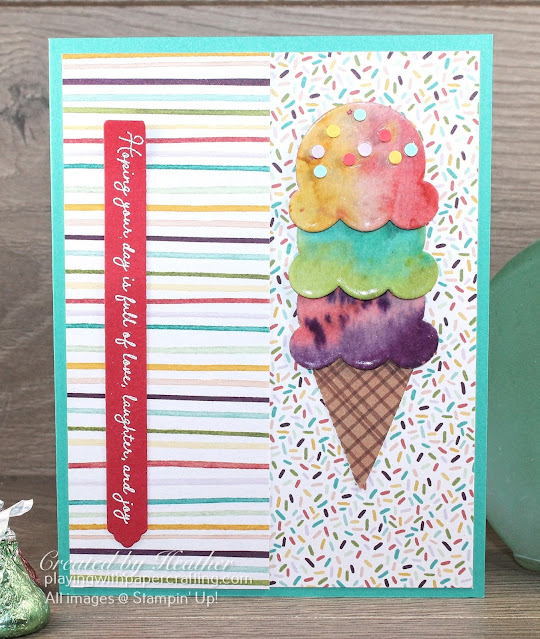
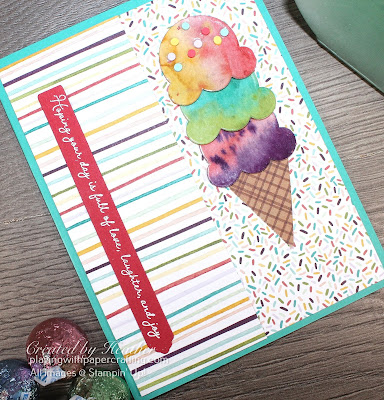
When you put them together, this is what you end up with:
- You'll notice in the photo that the scoops of ice cream look shiny. That's not because the designer series paper is shiny. I made it look that way using Clear Embossing Powder and I'm going to show you how on my regular Monday Morning Facebook Live at 11 am PST on my Facebook page: Playing with Papercrafting.
- The background paper is also from the Ice Cream Corner Designer Series Paper. See below for materials and measurements for all the pieces.
- The sentiments is from the Many Messages Bundle that I've been using and saving the sentiments from lately.
- The sprinkles on the top of the highest ice cream scoop are the Ice Cream Corner Sprinkles that go with this suite.

You can go to my Online Store to purchase this or contact me to place an order for you!
If you live in Canada, and don't have a Stampin' Up! demonstrator, I'd love to be yours. I can help you with ideas, get you catalogues and provide you with Stampin' Up products. You can leave a message in the comments or contact me using any of the methods listed in the right side bar at the top of the page. You can shop with me from anywhere in Canada by clicking on the SHOP NOW button in the top menu or clicking on any of products below from my Online Store.


No comments :
Post a Comment
I love to read your comments and get to know you better! Thanks for adding one!