Friday, August 30, 2024

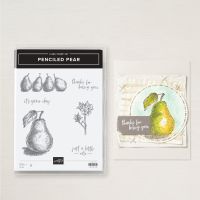
Penciled Pear for As You See It Challenge #331 - Fast Fruit

penciled pear for aysi #331 1

It's time for another Speed Challenge over at As You See It Challenges this week and this time the theme for the speed stamping is Fruit! This challenge is thanks to my team member Jane, and it's a great one! The first stamp set that came to mind was Citrus Blooms from the Mediterranean Blooms suite, but when I opened up my magic stamp cupboard, the first set that came into view, bearing fruit, was Penciled Pear! And I thought, "Perfect for speed stamping, because I don't need to do anything much to the images!" Check out the Challenge banner:

challenge #331

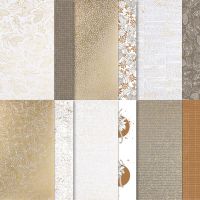
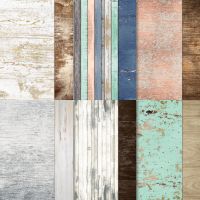
Using Penciled Pear gave me an opportunity to also use some rich DSP like Nature's Sweetness, which I love, but haven't had occasion to use for awhile, and continue on last challenges theme of Vintage, by adding some sponging to the image panels.

I must say I'm getting to enjoy speed stamping, mostly because I'm not panicking any more. No panic means that my fingers don't all turn into thumbs and I don't have silly mishaps while I complete my project. I finished this one in 9m 52s. It could have been finished at just over 9 min. but I decided I had time to add some embellishments, which took most of the minute. Here's how it turned out:

penciled pear for aysi #331 2

  • I used a base of Mossy Meadow and added a top layer of Nature's Sweetness Specialty DSP.
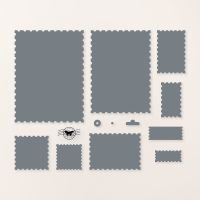
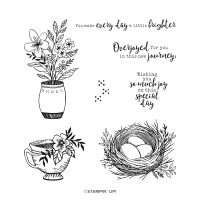
  • I stamped the images and 1 sentiment from Penciled Pear on Very Vanilla cardstock with Memento Tuxedo Black ink and die cut them using the appropriate sized Perennial Postage dies.
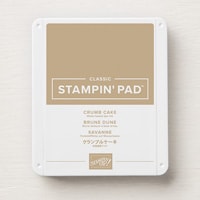
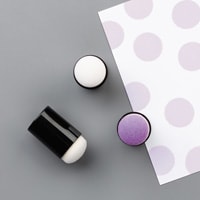
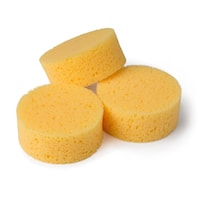
  • Using a sponge or sponge dauber, I sponged the edges with Crumb Cake ink.
  • I mounted the panels on the card face as shown using dimensionals.
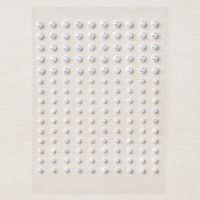
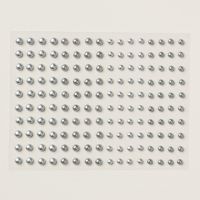
  • I added some Faux Glass Dots, a new embellishment featured in the 2024 Sept/Dec Mini Catalogue.
  • I finished in 9 min and 52 sec.

August is almost over and you don't want to miss out on these two promotions that end at the end of the month:
dsp sale

You still have time to take advantage of the 15% off selected DSP! Don't miss it!

bonus days

Did you earn coupons during Bonus Days in July? Don't forget to redeem them in August! Don't leave money on the table!!

You can take advantage of both of these promotions in my Online Store.

penciled pear for aysi #331 3

If you live in Canada, and don't have a Stampin' Up! demonstrator, I'd love to be yours. I can help you with ideas, get you catalogues and provide you with Stampin' Up products. You can leave a message in the comments or contact me using any of the methods listed in the right side bar at the top of the page. You can shop with me from anywhere in Canada by clicking on the SHOP NOW button in the top menu or clicking on any of products below from my Online Store.

Product List
*Faux Glass Dots
*new product from the 2024 Sept/Dec Mini Catalogue, available Sept. 4

Friday, August 16, 2024

Shabby Chic Everyday Details for As You See It Challenge #330

shabby chic everyday details for aysi #330 1

 It feels like weeks since I last wrote a blog post, but I know it isn't! It's just been such a busy few days in between that it feels like weeks! I had my two grandkids staying with me for 11 days and it was such fun and a real blessing! We took them camping, to the beach, to the local Kids' Arcade, Mini Golf, Laser Tag, and to Despicable Me 4! I haven't had so much fun in years! But business and card making took a bit of a back seat, except for the crafting I did with my granddaughter! Anyway, it is time for another As You See It Challenge and this time it's a theme challenge that is right up my alley. Take a look:

challenge #330

Vintage/Shabby Chic was my jam when I first got into stamping and card making, way, way back and I still love the lavish look of this style. Challenge #330 is a Theme Challenge with the idea conceived by Team Member Jan. 

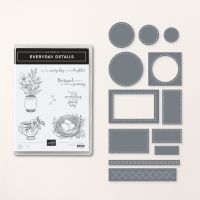
Going through my current stamp sets, I settled on the Everyday Details stamp set as working well with a vintage/shabby chic theme. Here's how it turned out:

shabby chic everyday details for aysi #330 2

  • I used Crumb Cake as my card base, always a good colour for things style. The base is a regular size, 5 1/2" x 8 1/2", scored a 4 1/4". I used a sponge to flick some Crumb Cake ink around three of the raw edges.
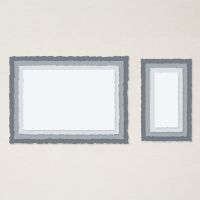
  • The second layer is Petal Pink cardstock cut at 5 1/4" x 4" then die cut with the Deckled Rectangle die closest to those dimensions. The edges were sponged with Crumb Cake ink before adhering that layer to the card base.
  • The third layer is a 5 1/8" x 3 7/8" piece of Country Wood DSP, again die cut with the Deckled Rectangle die closest to that size. The edges were sponged before adhering to the card front.
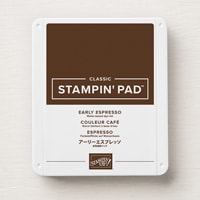
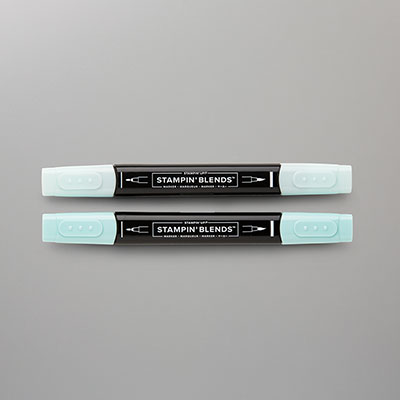
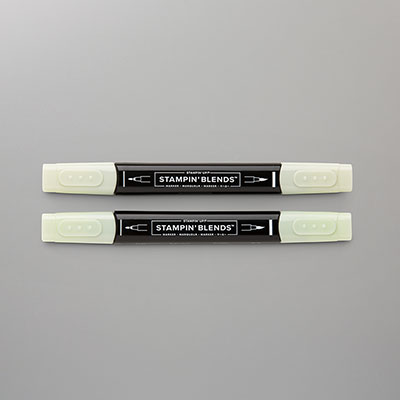
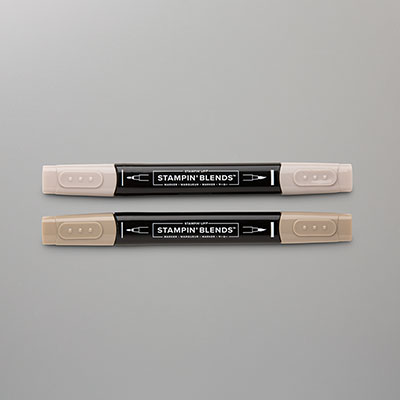
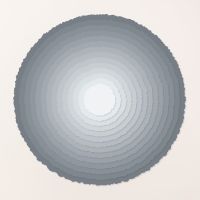
  • I stamped the nest image from Everyday Details on a piece of Very Vanilla cardstock using Early Espresso ink and coloured it in using Stampin' Blends Markers of Pool Party, Crumb Cake, and Soft Sea Foam. I die cut it using a larger Deckled Circle Die and sponged the edges again. I also used the dotted image to add a little stamped off texture to the circle.
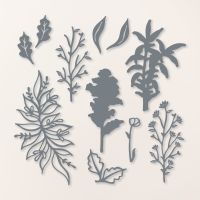
  • I die cut some foliage using the Thoughtful Expressions dies and Petal Pink and Soft Sea Foam cardstock. I added it to the back of the circle.
  • I chose a sentiment from Everyday Details and stamped it on Very Vanilla in Early Espresso ink, then die cut it using a label die from the Unbounded Love set. Again, I sponged around the edge.
  • I adhered the circle flat but added the label using Stampin' Dimensionals.
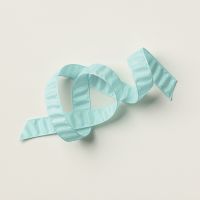
  • Using some Pool Party Crinkle Ribbon I tied a double finger bow, sponged on some more Crumb Cake ink to age it and mounted it on the card front using Glue Dots.
  • My last step was to colour some pearls using Pool Party and Soft Sea Foam Stampin' Blends (Dark works better.) and add them to the card.

It's another Designer Series Paper Sale, for the month of August! 15% off selected sets!
dsp sale 1
dsp sale 2
These are the DSP sets that are on sale, above. Shop 24/7 in my 
Online Store.

shabby chic everyday details for aysi #330 3

If you live in Canada, and don't have a Stampin' Up! demonstrator, I'd love to be yours. I can help you with ideas, get you catalogues and provide you with Stampin' Up products. You can leave a message in the comments or contact me using any of the methods listed in the right side bar at the top of the page. You can shop with me from anywhere in Canada by clicking on the SHOP NOW button in the top menu or clicking on any of products below from my Online Store.

Product List
*Retired Product - no longer available

Friday, August 2, 2024

Frosted Forest Decorative Masks for As You See It Challenge #329 - Forest Bathing


frosted forest for aysi #329

Our next As You See It Challenge is a Recipe Challenge, where we give you the ingredients and you whip up the recipe, that is you turn those ingredients into a papercrafting product that incorporates all five elements into the design.

Our recipe this time was cooked up by team member Heather H., and it's a yummy one! Take a look at the challenge banner:

challenge #329


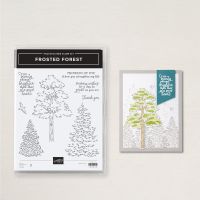
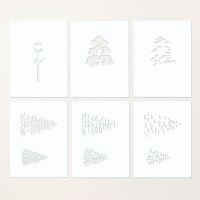
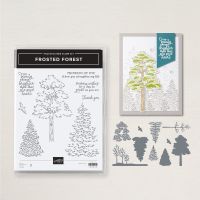
It seemed like the perfect opportunity to use an Online Exclusive set that I got not long ago called the Frosted Forest Bundle, which consists of the Frosted Forest stamp set, dies, and decorative masks. For this card, I wanted to focus on the masks, because I could get 2 shades of green in using those alone. Here's how it turned out:

frosted forest for aysi #329 2

Can you find all the 5 elements from the challenge in this card front?

For shades of green I used Granny Apple Green and Mossy Meadow in both ink and cardstock. I also sponged on some Pool Party, which is a shade of blue green, around the bottom of the trees to represent snow. Of course, I had tree images from the Decorative Masks. I used twine (linen thread) around the bottom of the front panel and I embossed the white background image behind the front panel with the Snowflake Sky 3D Embossing Folder. 

The sentiment is from the Frosted Forest stamp set and it's a birthday greeting. It's die cut with label dies from the Unbounded Love die set.

Finally, the embellishments are Basic Gray and Smoky Slate Pearls.

The masks are very easy to use. They are sequentially numbered (or lettered in this case) and each has a notch to match to the same mark so that the placement will be just right. I like to use them with my stamp positioning tool base, using those strong magnets and the grid lines to keep everything in place. You just place the stencils one after the other, use blending brushes to add on the different colours of ink that you want for each layer and the final image is always stunning.

bonus days - redeem

Alright! Now the fun begins! You can redeem all those bonus coupons you earned in July!! Spend like there's no tomorrow!! And don't forget to redeem your coupons!! They are in your email!!

frosted forest for aysi #329 3

If you live in Canada, and don't have a Stampin' Up! demonstrator, I'd love to be yours. I can help you with ideas, get you catalogues and provide you with Stampin' Up products. You can leave a message in the comments or contact me using any of the methods listed in the right side bar at the top of the page. You can shop with me from anywhere in Canada by clicking on the SHOP NOW button in the top menu or clicking on any of products below from my Online Store
.

Product List