It feels like weeks since I last wrote a blog post, but I know it isn't! It's just been such a busy few days in between that it feels like weeks! I had my two grandkids staying with me for 11 days and it was such fun and a real blessing! We took them camping, to the beach, to the local Kids' Arcade, Mini Golf, Laser Tag, and to Despicable Me 4! I haven't had so much fun in years! But business and card making took a bit of a back seat, except for the crafting I did with my granddaughter! Anyway, it is time for another As You See It Challenge and this time it's a theme challenge that is right up my alley. Take a look:
Vintage/Shabby Chic was my jam when I first got into stamping and card making, way, way back and I still love the lavish look of this style. Challenge #330 is a Theme Challenge with the idea conceived by Team Member Jan.
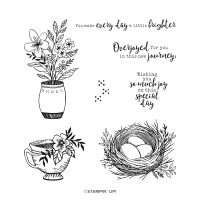
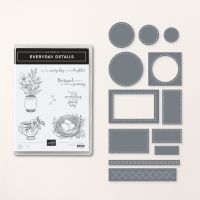
Going through my current stamp sets, I settled on the Everyday Details stamp set as working well with a vintage/shabby chic theme. Here's how it turned out:
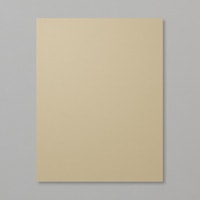
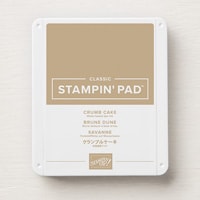
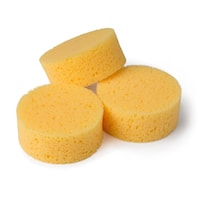
- I used Crumb Cake as my card base, always a good colour for things style. The base is a regular size, 5 1/2" x 8 1/2", scored a 4 1/4". I used a sponge to flick some Crumb Cake ink around three of the raw edges.
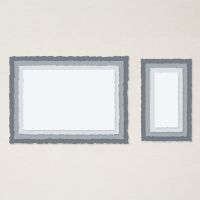
- The second layer is Petal Pink cardstock cut at 5 1/4" x 4" then die cut with the Deckled Rectangle die closest to those dimensions. The edges were sponged with Crumb Cake ink before adhering that layer to the card base.
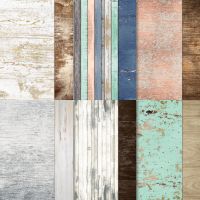
- The third layer is a 5 1/8" x 3 7/8" piece of Country Wood DSP, again die cut with the Deckled Rectangle die closest to that size. The edges were sponged before adhering to the card front.
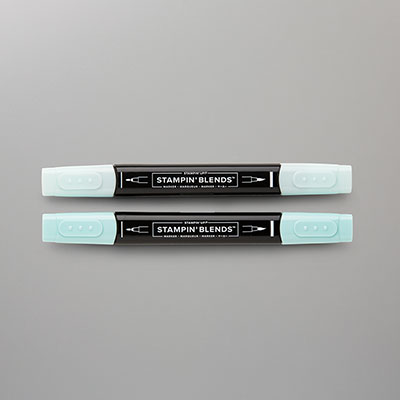
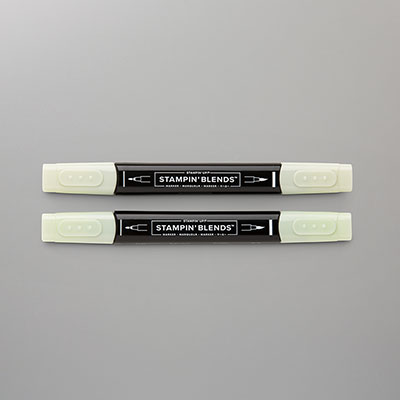
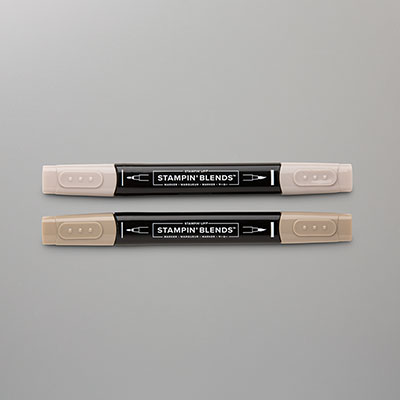
- I stamped the nest image from Everyday Details on a piece of Very Vanilla cardstock using Early Espresso ink and coloured it in using Stampin' Blends Markers of Pool Party, Crumb Cake, and Soft Sea Foam. I die cut it using a larger Deckled Circle Die and sponged the edges again. I also used the dotted image to add a little stamped off texture to the circle.
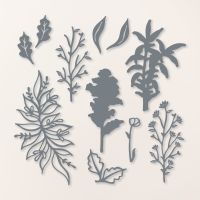
- I die cut some foliage using the Thoughtful Expressions dies and Petal Pink and Soft Sea Foam cardstock. I added it to the back of the circle.
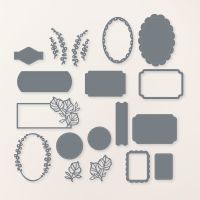
- I chose a sentiment from Everyday Details and stamped it on Very Vanilla in Early Espresso ink, then die cut it using a label die from the Unbounded Love set. Again, I sponged around the edge.
- I adhered the circle flat but added the label using Stampin' Dimensionals.
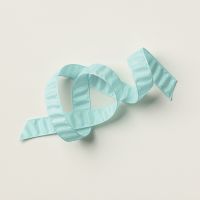
- Using some Pool Party Crinkle Ribbon I tied a double finger bow, sponged on some more Crumb Cake ink to age it and mounted it on the card front using Glue Dots.
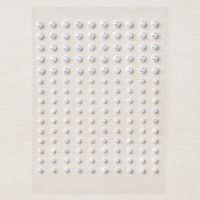
- My last step was to colour some pearls using Pool Party and Soft Sea Foam Stampin' Blends (Dark works better.) and add them to the card.
It's another Designer Series Paper Sale, for the month of August! 15% off selected sets!
These are the DSP sets that are on sale, above. Shop 24/7 in my Online Store.
If you live in Canada, and don't have a Stampin' Up! demonstrator, I'd love to be yours. I can help you with ideas, get you catalogues and provide you with Stampin' Up products. You can leave a message in the comments or contact me using any of the methods listed in the right side bar at the top of the page. You can shop with me from anywhere in Canada by clicking on the SHOP NOW button in the top menu or clicking on any of products below from my Online Store.

.jpg)

.jpg)


.jpg)


How marvellous to have your grandchildren stay for 11 days! Wonderful, but I suspect a little tiring too. :-) Doesn't it feel good to get out the blending brush and take to the edges like that? The Deckled Rectangles were a great choice to cut the layers with - distressed edges without even trying!
ReplyDelete