Showing posts with label vintage. Show all posts

Friday, August 16, 2024

Shabby Chic Everyday Details for As You See It Challenge #330

shabby chic everyday details for aysi #330 1

 It feels like weeks since I last wrote a blog post, but I know it isn't! It's just been such a busy few days in between that it feels like weeks! I had my two grandkids staying with me for 11 days and it was such fun and a real blessing! We took them camping, to the beach, to the local Kids' Arcade, Mini Golf, Laser Tag, and to Despicable Me 4! I haven't had so much fun in years! But business and card making took a bit of a back seat, except for the crafting I did with my granddaughter! Anyway, it is time for another As You See It Challenge and this time it's a theme challenge that is right up my alley. Take a look:

challenge #330

Vintage/Shabby Chic was my jam when I first got into stamping and card making, way, way back and I still love the lavish look of this style. Challenge #330 is a Theme Challenge with the idea conceived by Team Member Jan. 

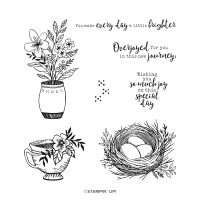
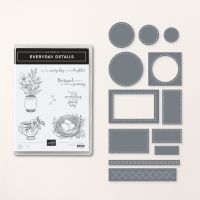
Going through my current stamp sets, I settled on the Everyday Details stamp set as working well with a vintage/shabby chic theme. Here's how it turned out:

shabby chic everyday details for aysi #330 2

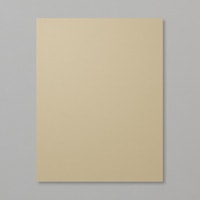
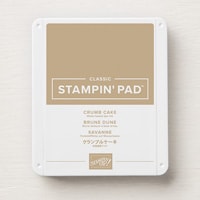
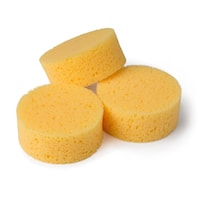
  • I used Crumb Cake as my card base, always a good colour for things style. The base is a regular size, 5 1/2" x 8 1/2", scored a 4 1/4". I used a sponge to flick some Crumb Cake ink around three of the raw edges.
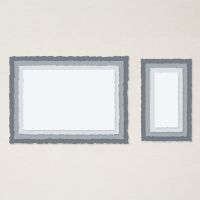
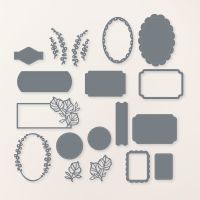
  • The second layer is Petal Pink cardstock cut at 5 1/4" x 4" then die cut with the Deckled Rectangle die closest to those dimensions. The edges were sponged with Crumb Cake ink before adhering that layer to the card base.
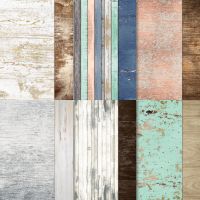
  • The third layer is a 5 1/8" x 3 7/8" piece of Country Wood DSP, again die cut with the Deckled Rectangle die closest to that size. The edges were sponged before adhering to the card front.
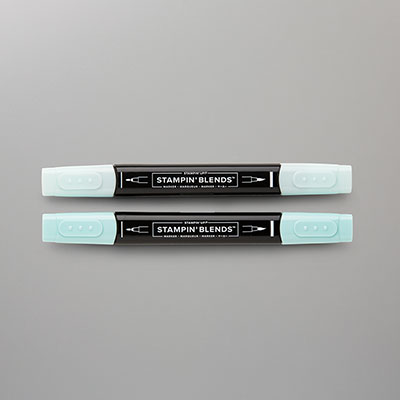
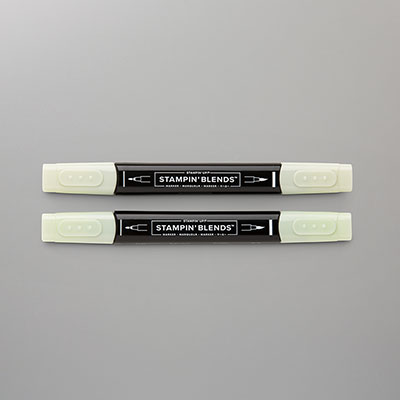
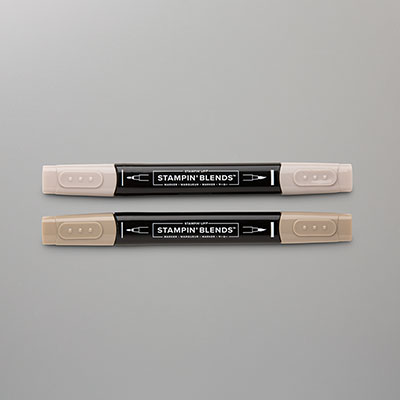
  • I stamped the nest image from Everyday Details on a piece of Very Vanilla cardstock using Early Espresso ink and coloured it in using Stampin' Blends Markers of Pool Party, Crumb Cake, and Soft Sea Foam. I die cut it using a larger Deckled Circle Die and sponged the edges again. I also used the dotted image to add a little stamped off texture to the circle.
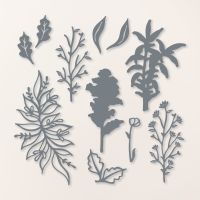
  • I die cut some foliage using the Thoughtful Expressions dies and Petal Pink and Soft Sea Foam cardstock. I added it to the back of the circle.
  • I chose a sentiment from Everyday Details and stamped it on Very Vanilla in Early Espresso ink, then die cut it using a label die from the Unbounded Love set. Again, I sponged around the edge.
  • I adhered the circle flat but added the label using Stampin' Dimensionals.
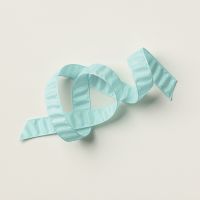
  • Using some Pool Party Crinkle Ribbon I tied a double finger bow, sponged on some more Crumb Cake ink to age it and mounted it on the card front using Glue Dots.
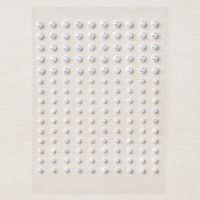
  • My last step was to colour some pearls using Pool Party and Soft Sea Foam Stampin' Blends (Dark works better.) and add them to the card.

It's another Designer Series Paper Sale, for the month of August! 15% off selected sets!
dsp sale 1
dsp sale 2
These are the DSP sets that are on sale, above. Shop 24/7 in my 
Online Store.

shabby chic everyday details for aysi #330 3

If you live in Canada, and don't have a Stampin' Up! demonstrator, I'd love to be yours. I can help you with ideas, get you catalogues and provide you with Stampin' Up products. You can leave a message in the comments or contact me using any of the methods listed in the right side bar at the top of the page. You can shop with me from anywhere in Canada by clicking on the SHOP NOW button in the top menu or clicking on any of products below from my Online Store.

Product List
*Retired Product - no longer available

Friday, April 12, 2013

Framed!


I've just recently become enamoured with frames - old frames, weathered and ornate frames, repainted and distressed frames.  Keep your eyes open for me because I have lots of plans for them especially now that I finally was able to buy the Typeset Alphabet Bigz Dies!  So excited about all I'm going to be able to do with the letters.  Keep tuned for some great classes ahead!


We returned from visiting my daughter in Fort St. James today - brutal drive!  Eleven hours of sitting in the car!  Not my idea of fun, in fact I can hardly bear to be sitting here typing this blog post!  But it was worth it to spend some time with her and her family, including my grandson, Kesten!

I needed a creative fix when I got home, so I worked on a card idea I formulated in the car during those eleven interminable hours!  It involves a frame!  Guess where it's from:


Give up?  Okay, I'll tell you.  It's from the Papaya Collage stamp set.  It was one of the first stamp sets I purchased when the 2012/13 Catalogue came out, but after using it a few times, decided I didn't really like it, especially the frame, mostly because I always just stamped the frame, usually in black.  

But recently, I realized that it would perfectly frame some of the newer sentiments, like Feel Goods, shown here, and it would be great embossed in white or some other colour. ( It would work well with the Chalkboard Technique as well!)  So I decided to resurrect it and use it on a vintage-designed card like this one. 


I stamped some designs from the Established Elegance stamp set in StazOn Black on First Edition Specialty Designer Series paper.  I then punched out the bird, wing and branch shapes using the Bird Builder punch, and the large and small butterflies using the Elegant Butterfly and the Bitty Butterfly punches.  Then I sponged all the edges using Soft Suede Ink.  The card base and sentiment panel are Soft Suede, and the Very Vanilla back panel is embossed using the Lacy Brocade Embossing folder, held over from the Holiday Mini Catalogue, and available until May 31.  I used this method to tie a bow using Crumb Cake seam binding ribbon.  Then I added another bow, tying it onto the first one and trimming the ends.  The addition of a few Pearl Basic Jewels completed the look.

And MORE news from Stampin' Up:  They are changing the packaging for the wood mount stamps in a way I think you are all going to like!  Check it out here:


Did you catch some of those sneak peeks of the new catalogue as well?  No?  Better watch it again.

By the way, if some of you ordered Not Quite Navy card stock on the weekend, it is now completely out of stock, and they may not have been able to fill your order.  If this applies to you, Stampin' Up will be issuing refunds starting in a couple of weeks.  Boy, when they say "while supplies last", they mean it.  It's important to act quickly!

Have a great weekend, and we'll see you on Monday!

Stamps:  Papaya Collage (w126610; c126612); Established Elegance (w122530; c122532); Feel Goods (w129681; c129684)
Paper: First Edition Specialty Designer Series Paper (121878); Soft Suede (115318) and Very Vanilla (101650) card stock
Ink:  StazOn Jet Black (101406); VersaMark (102283)
Accessories:  Stampin' Emboss Powder in White (109132); 1/2" Seam Binding Ribbon in Crumb Cake (122332); Pearl Basic Jewels (119247); Large Pearl Basic Jewels (125577)
Tools:  Lacy Brocade Textured Impressions Embossing Folder (127819); Big Shot (113439); Bird Builder Punch (117191); Elegant Butterfly Punch (127526); Bitty Butterfly Punch (129406)
Established Elegance


Papaya Collage
Feel Goods
Bitty Butterfly Punch

Bird Builder Punch

Lacy Brocade TIEF
Crumb Cake Seam Binding Ribbon


First Edition Specialty Designer Series Paper

Saturday, March 17, 2012

Inspiration

I would never have thought of using wallpaper or curtains as inspiration for card making, but there is a paper crafting challenge on the SplitCoast Stampers site that directed participants to the Johnny-Tapete website to find ideas for cards.  What an eye-opener, as I browsed the site with an inspiration-seeking viewpoint.  I have only begun to mine the creativity starters here, but I found this curtain material that I decided to use for inspiration for this card that I entered in the challenge.


The layout that I used is from another challenge from Sweet Sunday Challenge #154:


I used the colour palette of Basic Grey, Pretty in Pink and Certainly Celery.  The grey panel was embossed with the Vintage Wallpaper embossing folder and the card base was embossed using the Perfect Polka Dots embossing folder. I edged the vertical green panel with the Scalloped Trim border punch.


The front panel was stamped in basic grey using the stamps from the Creative Elements set, then I coloured in the flower using Stampin' Pastels.  I was happy because I don't usually have a ton of success with the pastels, but I used a smaller applicator and it turned out really well, and it has a vintage feel to it.  I added some Basic Rhinestones to the stamped edge design, which are a little hard to spot in this photo. 

I am going now to create some baby shower invites and if I finish them in time, there might be another post today....or maybe I should save it for Sunday!

Wednesday, February 22, 2012

Steal Like an Artist


So many people assume that they are not creative.  But I believe that we all have a drive within to create in some way.  Some are just not willing to risk critique, especially their own.  A friend of mine posted this link on Facebook a while back and it was very freeing: Steal Like an Artist!
With that in mind, I'm going to share a couple of cards I CASE'd (Copy And Share Everything) from designs I found on Pinterest - a great way for the artist to be a collector.

This card was designed by Claire Daly and I found it on Splitcoast Stampers site - another great resource.  I modified only a little.  Since my card was larger, I added an extra butterfly.  The stamp sets I used were Creative Elements and Teeny Tiny Wishes, by Stampin' Up.  I downloaded and printed a manuscript to use behind the Pool Party panel in front.  The card base is Early Espresso.  I sponged and distressed the edges of both panels as well as using Crumb Cake ink to stamp some of the images on the manuscript in the top left corner.  The decorative label punch created the window in the front panel and I used an Antique Brad and some Basic Rhinestones from Stampin' Up to give it some bling!  I love the look!


The other card I want to share was CASE'd from a layout by Melanie Holtz, but I used different stamps and paper.
The stamp sets I used were Rue des Fleurs and Oval All from Stampin' Up and the DSP is Beau Chateau, also SU.  It gives the card a very French flavour, non?  I used a bit of SU's Victorian Crochet trim on one edge of two of the panels and some Making Memories antique copper brads to finish it off.  One thing I have been hesitant to try is sewing my cards.  I have a new sewing machine that is, as yet, untried and I don't want to dull the needle.  Do you use a special needle for paper crafting?  I just used a Soft Suede SU marker to create faux stitches.  The real thing would look better!