Showing posts with label stencils. Show all posts

Friday, April 4, 2025

Thankful Garden for As You See It Challenge #345

thankful garden for aysi #345 1

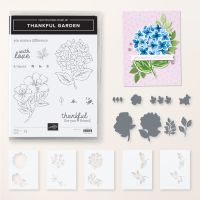
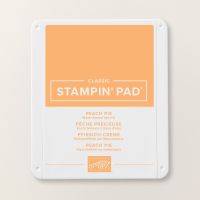
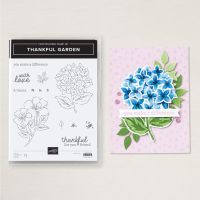
Ooooh! Delicious! Our As You See It Colour Challenge this week has the prettiest colours. Thanks, Jan, for coming up with them! After I stopped admiring them, I looked through my newish stamp sets to see what would work, and came up with the Thankful Garden bundle, which includes a hydrangea stencil, and decided to use that. It was great for every colour except for Peach Pie and I was able to use that colour on my background paper and on my sentiment. Here's a look at the Challenge Banner:
challenge #345

And here's how it all turned out:

thankful garden for aysi #345 2


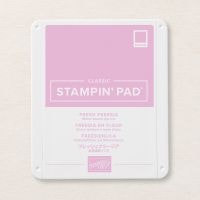
  • I used Fresh Freesia cardstock as my card base, cut at 5 1/2" x 8 1/2" and scored at 4 1/4".
  • I cut a piece of Peach Pie cardstock for the next layer and ran it through the Stampin' Cut & Emboss Machine with the  Mini Corrugated 3D Embossing Folder.
  • I added a Basic White Layer 3 3/4" x 5" with the sentiment, from the Thankful Garden stamp set, stamped on in Peach Pie ink.
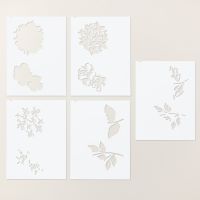
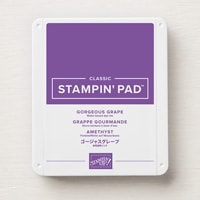
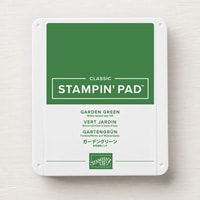
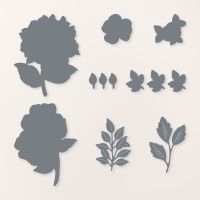
  • On a scrap piece of Basic White, I used the large hydrangea bloom stencils to create the floral focal point, using Fresh Freesia, Gorgeous Grape and Garden Green ink. I like to use our old Stamp positioning tool, the Stamparatus, to help keep everything in place, because the magnets are so strong.
  • I die cut the hydrangea bloom with the corresponding die from the Thankful Garden die and added it to the card front with Stampin' Dimensionals.
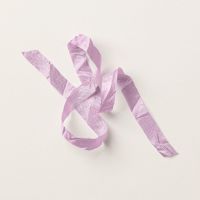
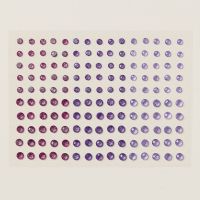
  • I used Fresh Freesia Seam Binding ribbon for the bow on the bottom of the hydrangea bloom and Purple Fine Shimmer Gems to add the sparkle to the bloom itself.
last chance sale

Get them while they last!! Click on my Online Store.

thankful garden for aysi #345 3

If you live in Canada, and don't have a Stampin' Up! demonstrator, I'd love to be yours. I can help you with ideas, get you catalogues and provide you with Stampin' Up products. You can leave a message in the comments or contact me using any of the methods listed in the right side bar at the top of the page. You can shop with me from anywhere in Canada by clicking on the SHOP NOW button in the top menu or clicking on any of products below from my Online Store.
Product List

Sunday, September 1, 2013

A Banner Day!

Did you know that banners have been around since the Old Testament times?  Moses used them to keep the Israelites in line during their trek through the wilderness.

Ancient Romans would decorate them with a coat of arms and hang them at their doors to identify their house.

 Ancient Japanese warriors would wear them on their armour.


Banners were everywhere during Medieval times, on castles, in battles, at feasts!


Trade unions in Britain brought them back into use with symbols identifying their trade in popular May Day parades.

So banners aren't new, but they are a beautiful way to enhance your home decor during special seasons or to decorate for events such as Halloween.  Stampin' Up has come out with a series of banner kits in the new Holiday Mini Catalogue.  The basic set is the Build a Banner Simply Created Kit which includes 18 blank canvas pennants, some jute twine and alphabet and image stencils.  


Then Stampin' Up created a Halloween Banner Simply Created Accessory Kit and a Christmas Banner Simply Created Accessory Kit.  These are loads of fun to work with.  Today I'd like to share with you the Halloween Banner I created and will be offering as a class on Wednesday, September 18, along with an Autumn Banner that I designed myself.  I will show you the Autumn Banner in the next post.


The lighting and background colouring leave a lot to be desired, but you get the idea!  Oh, my goodness!  So much fun to make, and not difficult with most of the pieces cut for you.  You have many choices you can make so as to make it your creation.


  • You can see the three shapes of pennants in the kit, six of each shape!  
  • There are precut and scored paper strips to make two of the three rosettes pictured here.  I used the Simply Scored Scoring Tool to make the third one of paper in the Witches' Brew Design Series Paper.
  • I used a sponge dauber along with the background and letter stencils to create the patterns on the pennants.
  • The circles for the top of the rosettes are included along with the cutouts embossed in glittery black.
  • Ribbon and accessories are part of the kit as well, but I added a few of my own.

If you are interested in making one of these super cute banners, you can register here.

Products:  Build a Banner Simply Created Kit (133507); Halloween Banner Simply Created Accessory Kit (132698)
Extra Products:  Jumbo Sticky Rounds (127852); Sticky Strip (104294); Witches' Brew DSP (132185);  Sponge Daubers (102892); Summer Starfruit (126839) and Tangerine Tango (111349) cardstock; Classic Stampin' Pads in Early Espresso (126974), Summer Starfruit (126991) and Tangerine Tango (126946); Chevron Ribbon in Basic Black (130010); 2 3/8" Scallop Circle Punch (118874); Simply Scored Scoring Tool (122334)

Build a Banner Simply Created Kit

Halloween Banner Simply Created Accessory Kit

Jumbo Sticky Rounds

Simply Scored Scoring Tool