Showing posts with label fall theme card. Show all posts

Wednesday, September 23, 2015

Wondrous Wreath for The Paper Players


In all the excitement of the new Holiday Catalogue, the poor old Annual Catalogue often gets forgotten and left behind. But I wanted to show you that there are many great stamp sets and framelits in the Annual Catalogue that are perfect for this time of year as well as for the holiday season. The stamp set I wanted to highlight today is Wondrous Wreath and the coordinating Wondrous Wreath Framelits. It was meant to be a Christmas stamp set and is terrific for making classy Christmas cards, but it can also be used for the other seasons, simply by changing the colour palette. For this card, I gave it a fall theme in line with The Paper Players' Challenge 263:


As this is a Clean-and-Simple Challenge, I didn't want to have a lot of different images. Simply an image, and sentiment and the background.


  • The Wondrous Wreath photopolymer stamp set is designed for a 3 step stamping experience, and the great thing is that Stampin' Up! has added a directional tab to each of the 3 stamps so you can line up the images by aligning the tap of each one with the others. The coordinating Wondrous Wreath framelits also have a tab to make aligning them with the images easy.
  • I chose an autumn palette for my wreath with Pumpkin Pie ink for the first image, Versamark Ink with Gold Stampin' Emboss Powder for the second and Cherry Cobbler ink for the little berries and the bow. The touch of gold elegance on the card contrasts effectively with the rustic background.
  • The background is the Hardwood stamp, stamped in Crumb Cake ink on a piece of Crumb Cake cardstock. This wreath needs a fairly non-busy background and the Hardwood filled the bill when Designer Series Paper and other background stamps just didn't work.

  • The sentiment is from the For All Things stamp set and I inked up the two lines separately using Stampin' Write Markers in Pumpkin Pie and Cherry Cobbler, cleaning them thoroughly in between stamping them so as not to end up with ghost images of the other part on the sentiment from the residue on the Stampin' Scrub. The stamp has the two lines aligned left, but when I stamped each line separately, I could center each one. The label and it's backing pieces are die cut using the Tags & Labels Framelits.
This was a fun card to make! I hope you'll give it a try. The list of supplies is below.


Click on the links below to take you to my On-Line Store, where you can read about, look at, and purchase if you wish, the products used to make this card today!


Product List

Monday, September 7, 2015

A-Corny Thank You for Freshly Made Sketches


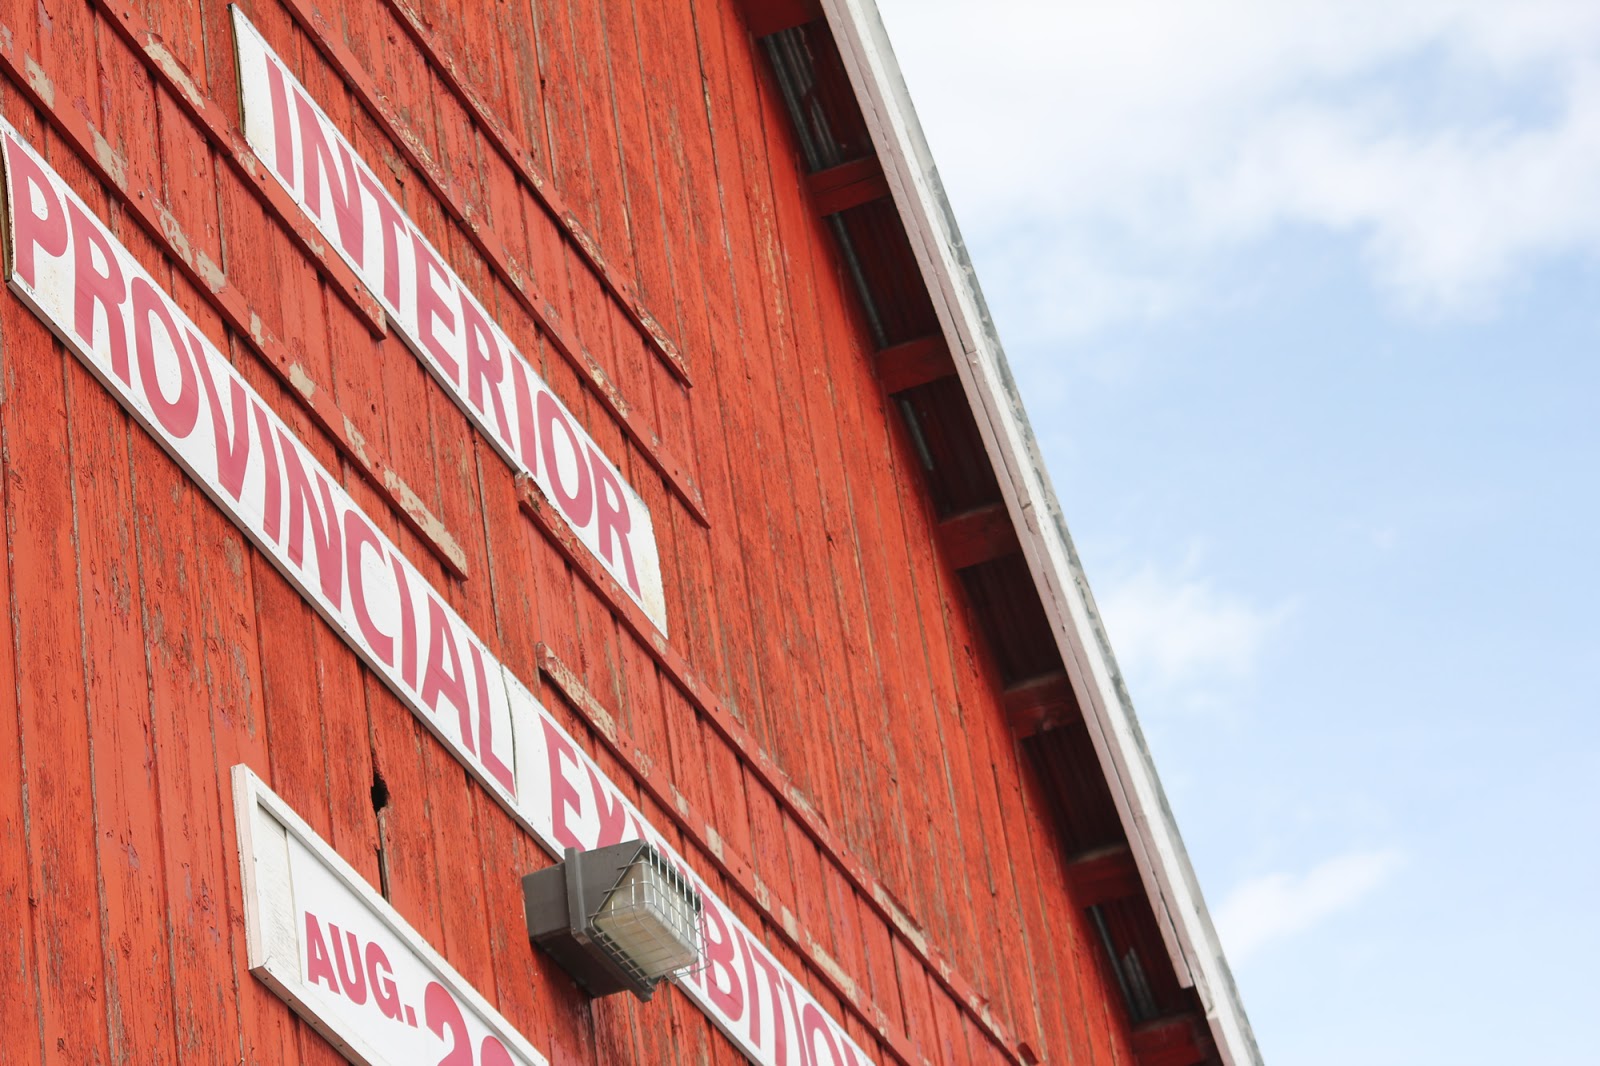
Around where I live, you always know when it's fall and Labour Day, because it's time for the IPE - the Interior Provincial Exhibition. It's held in a little town called Armstrong about one and a half hours from where we live and it's been held annually for a long, long time - 116 years to be exact! And what's nice about it is that it still retains the flavour it started out with - a country fair, with lots of animals, crafts, baking and canning, a rodeo and an amusement park! There's so much to look at! I'll show you some photos of our Saturday visit there after we look at the card sample.

I made this one for two reasons, to enter Freshly Made Sketches Challenge #202, and as a Make & Take for my Holiday Catalogue Launch next Saturday! I used some of the Into the Woods Designer Series Paper and a new bundle* featuring the A-Corny Thank You stamp set and the Acorn Builder Punch!  Here's the Challenge sketch:


This is my take on it:

  • I played with a palette of Real Red, Pumpkin Pie, Soft Suede and Crumb Cake. I like the warm feel to the card using all the browns, reds and oranges.
  • The background was formed by the Hardwood Background Stamp and Soft Suede Ink on Crumb Cake cardstock. I love the rustic feel this stamp gives.
  • The small panel is a piece of Into The Woods Designer Series Paper backed with some Pumpkin Pie cardstock! With it's autumn coloured leaves and acorns, it's the perfect backdrop to the acorns I stamped and punched out.
  • I stamped the various parts of the acorns with differently designed acorn stamps from A-Corny Thank You stamp set. I then used the Acorn Builder Punch to punch them out. You have to be strategic in which order you punch out the bottoms and the tops because there are separate areas of the punch for each and if you start at the wrong side you will destroy your next acorn with the other area of the punch, if you catch my meaning!
  • The sentiment is from a stamp set in the Annual Catalogue called For All Things. I inked up each word in a different colour using Stampin' Right Markers - Real Red and Pumpkin Pie.
Now, here are a few photos from the Armstrong Fair this weekend:


I wanted to be a kid again to be able to go in one of those bubbles on the water! I looked like so much fun!


In the building with all the vendor displays, and yes, we did get sucked into buying something. (See last photo!) It was such a good pitch though!


This was in the Honey Bee display! What a unique idea. These are artifical honeycombs that you can continually tap for honey! Genius!


Look at the size of that sunflower head!

 Here's me with our new purchase: a Smart Living Steam Mop and individual steamer! Such a deal!!


* Bundles will save you 15% over buying each item in the bundle separately.


Click on the links below to take you to my On-Line Store, where you can read about, look at, and purchase if you wish, the products used to make this card today!


Product List