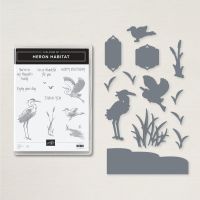
Feathers is the theme of this week's new challenge at As You See It Challenges, courtesy of my team mate, LeAnne, and I knew that I didn't have a single feather stamp in my collection, so I was going to have to use a bird stamp. A while back, I was going through my retired stamp sets and I spotted a bundle that I really loved, but had not been able to use enough before it retired, "Heron Habitat"! It came complete with a standing and flying heron along with grasses, reeds, and sentiments! The feathers on the heron are very prominent, so it is a good bird to use! Take a look at the Challenge Banner:

At our old house before we downsized, we had a Koi pond, and we had an all too regular visitor we nicknamed Bill, a great blue heron, there to help himself to a fishy snack or two. We had a love/hate relationship with him, because Bill was a majestic bird, and it was hard to deter him, so he had to be pretty intelligent, but, darn it, it was hard to deter him because he was so intelligent!! Here's my tribute to Bill:

- I started with a card base of gray granite cardstock cut at 5 1/2" x 8 1/2", scored at 4 1/4" on the long side.
- I added a piece of shiplap patterned DSP from the Waterside Retreat collection cut at 5 1/2" x 4 1/4", glued on the card front with the grooves going horizontally.
- Then I cut a piece of the Scenic Coast Specialty DSP, in the pattern you see above, to 5" x 3 3/4" and adhered it to the card front.
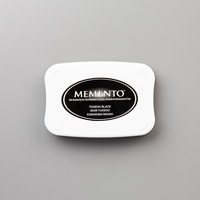
- On Basic White cardstock, using Memento Tuxedo Black ink, I stamped both herons, as well as the sentiment.
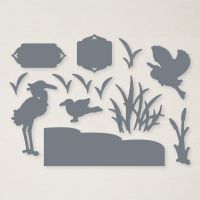
- I die cut them all with the coordinating Heron Dies.
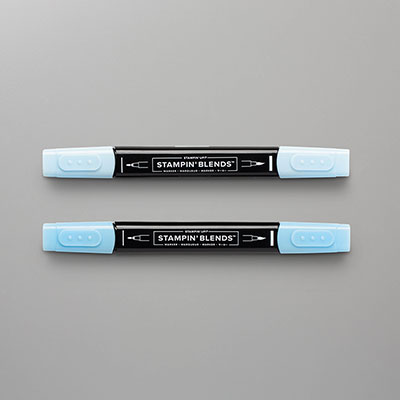
- I coloured the herons with the Dark Balmy Blue Stampin' Blends marker.
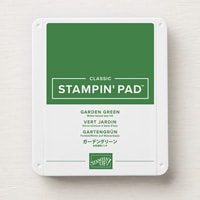
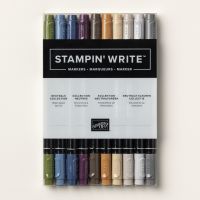
- I stamped the bulrushes by stamping the stems with Garden Green ink, then wiping off the bulrush ends and going over them with Early Espresso Stampin' Write Marker using the brush end.
- I die cut all three using the coordination Heron die.
- I die cut two of the grasses from Copper Foil.
- Then I started to build the scene on the front of the card. On the right I added the flying heron at the top right using mini stampin' dimensionals.
- Then I added one of the copper grasses using Tombo glue. And on top of the grass, I added one of the bulrushes using dimensionals.
- On the left side I glued down one of the bulrushes as shown, then glued the copper grass overtop. I added the standing crane and the remaining bulrush using Mini Stampin' Dimensionals, as shown.
- I used some Stampin' Seal to add the sentiment on the top left as shown.

Oct. 21 - 23
Don't miss out! Christmas is coming! Dies make great gifts for crafters!4


If you live in Canada, and don't have a ®Stampin' Up!© demonstrator, I'd love to be yours. I can help you with ideas, get you catalogues and provide you with Stampin' Up products. You can leave a message in the comments or contact me using any of the methods listed in the right side bar at the top of the page. You can shop with me from anywhere in Canada by clicking on the SHOP NOW button in the top menu or clicking on any of products below from my Online Store.